Perhaps you’re thinking, “Rice is rice, isn’t it?”
You might assume that once you’ve tried one kind of rice, you’ve tried them all.
But hey! Think again. Just like grapes, there are countless varieties of rice out there! ( `д´)⊂彡☆))Д´)
The main types of rice
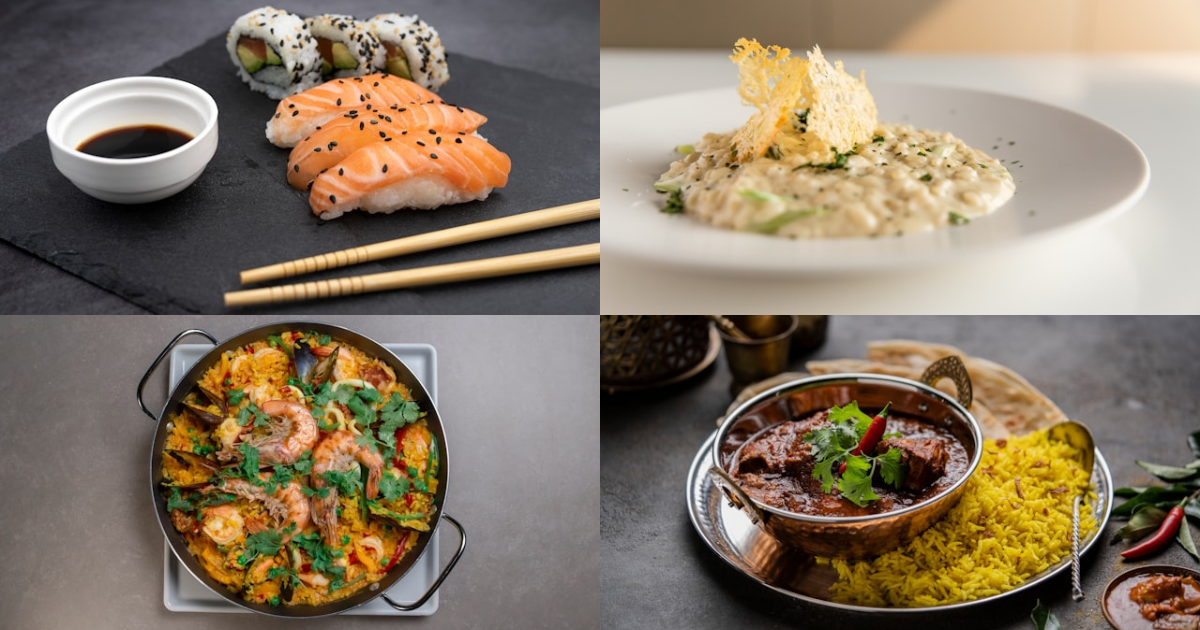
If a Cabernet Sauvignon grape can transform into a deep, complex red wine, and a simple Chardonnay grape can become a crisp white wine, you can bet that the subtle differences in rice varieties will lead to drastically different dishes—from sticky sushi to light, fluffy pilafs.
Global rice is primarily categorized by grain length and amylose content, which are the key factors determining its texture and stickiness. Let’s look at some of the major types of rice around the globe. Keep in mind that this is just a quick look at the most representative varieties!
Long-Grain Varieties
Long-grain varieties have low stickiness and cook up nice and separate/fluffy. They are best suited for curries and stir-fried dishes.
Basmati Rice
Primarily consumed in India and Pakistan, it is relatively easy to find outside of these countries. It is very long and slender, and when cooked, it releases an aromatic, savory, nutty fragrance.
Jasmine Rice
Mainly produced in Thailand. When cooked, it gives off a sweet, jasmine-like aroma. It is often used in Chinese and Thai cuisine.
Standard American Long-Grain (Southern U.S. Long-Grain)
A long-grain rice primarily eaten in the Southern United States. It has a neutral flavor and a somewhat firm texture, with less aroma than Southeast Asian varieties. It is used in dishes like jambalaya and gumbo.
Medium-Grain Varieties
Medium-grain rice can develop a slight stickiness depending on the cooking method. It is particularly excellent at absorbing broth or liquid.
Bomba
Considered the highest quality rice for Spanish paella. It is highly resistant to becoming mushy and excels at soaking up large amounts of broth (dashi/stock).
Arborio
The essential Italian risotto rice. It cooks to a creamy texture while maintaining a firm bite in the center (al dente).
Short-Grain Varieties
The grains are short and round. They are characterized by their sheen (lustre) when cooked and their moist stickiness.
Japonica Rice
The type of rice eaten in Japan, South Korea, and Taiwan. It is highly sticky and moist. When cooked, it has a subtle sweetness and a distinct glossy appearance.
Just as grapes are turned into wine, Japanese rice is used to brew sake (Japanese rice wine).
Please note that the varieties listed here are only the most representative types of rice. If you are interested in learning more, you can refer to the Wikipedia page “List of rice cultivars.”
Can I Take Japanese Rice Home as a Souvenir?
Imagine you visit Japan, fall in love with the delicious local rice, and start wondering: “Can I buy some Japanese rice and take it back to my own country?”
The short answer is: It completely depends on the rules of your home country (specifically, their plant quarantine regulations). For carrying rice home as a souvenir, pre-cooked, packaged rice (a processed food) like “Sato no Gohan” is much more highly recommended than polished rice grains.
What is Polished Rice?
This is the rice sold in bags at Japanese supermarkets. First, the hull is removed from the rice fruit (paddy) to create brown rice (Genmai). Polished rice is what remains after the bran layer is completely or partially removed from the brown rice, which is what is commonly sold in stores.
Incidentally, polished rice will not sprout even if you plant it in soil and water it, as the parts necessary for germination have already been removed.
However, even though it cannot sprout, it may still be considered a plant-derived seed food, or “plant seed.” This is where quarantine rules come into play.
What are Quarantine Rules?
Most countries have very strict quarantine regulations for grains like rice to prevent the invasion of pests and diseases.
While some countries allow entry for personal use, they often require a Plant Quarantine Certificate. Furthermore, some nations completely prohibit the import of rice.
If you plan to buy polished rice in Japan and take it home, you must absolutely check your country’s import laws. It would be heartbreaking if you went through the trouble of managing your airline’s weight limits only to have the rice confiscated at the airport.
What is Packaged Cooked Rice?
This is a ready-to-eat product consisting of already-cooked rice that is individually packaged, sterilized, and sealed. It can be eaten immediately after heating in a microwave. The shelf life is typically about one year at room temperature (depending on the product). It is extremely convenient.
Packaged cooked rice may be allowed for entry in many countries if it is declared beforehand.
The take-home advice: Whether you plan to bring home polished rice or packaged cooked rice, check the import regulations for “Rice” on the website of your country’s customs or plant quarantine authority before you travel.
Let’s Cook Japanese Rice!
Here, we’ll introduce how to cook Japanese rice. While having specialized equipment certainly helps, it’s absolutely possible to cook delicious Japanese rice without it.
All you need is rice, water, a pot, and a stove—that’s it.
Rice
If you want to buy Japanese rice, you can often find it at Japanese supermarkets or sometimes on online retailers like Amazon. Long-grain varieties (Basmati, Jasmine) are relatively easy to find in urban supermarkets, but they will not give you the chewy, sticky texture of Japanese rice. On the other hand, they are much easier to cook.
Please note that cooking methods vary depending on the type of rice. If you buy long-grain or medium-grain rice, please refer to the cooking instructions provided on the packaging.
Water
Is the water in your region hard water or soft water?
When you cook rice with hard water, minerals like calcium and magnesium can stick to the rice grain’s surface or bind with the starch, which hinders the absorption of water. As a result, the cooked rice tends to be hard and dry/flaky. However, this can be managed by simply extending the soaking time.
If possible, using water filtered by a water purifier (like Brita) or soft mineral water will help you cook the rice more deliciously.
Pot
Many Japanese households use a dedicated rice cooker to cook rice. However, there are still people who prefer to cook rice in a pot. The advantages of cooking rice in a pot include:
- The sweetness and aroma are enhanced.
- You can create okoge (a slightly toasted, crunchy bottom layer) (depending on personal preference).
- You can make fine adjustments to the water level and heat intensity.
So, what kind of pot should you use? Ideally, a heavy, heat-retaining pot like an earthen pot (donabe), a Staub, or a Le Creuset is best. However, a stainless steel pot will also work.
For cooking one cup (200ml, about 3/4 US cup) of Japanese rice, aim for a pot with a diameter of about 20cm (about 7.9 inches) and a capacity of 1.5 to 2 liters (1.5 to 2 quarts). This ensures that the height of the rice when one cup of raw rice is placed inside is about one-third (1/3) of the pot’s depth.
Stove
A gas stove is ideal, but you can also cook rice on an induction (IH) cooktop. If you use an IH, make sure you use an IH-compatible pot.
If you do not have a stove, you can still cook rice if you have a microwave by using a “microwave rice cooker” (or a single-serving rice steamer). In this case, you don’t even need to adjust the heat level. These microwave rice cookers can sometimes be found online (like on Amazon), and in Japan, they are often sold at 100-yen shops. Note, however, that some models may only be compatible with specific microwave wattages.
Directions
Here, we introduce the method for cooking Japanese rice in a pot using a gas stove. If you have an induction cooktop(IH), the same method works with minor adjustments.
Water Guideline: If you are cooking 2 cups of raw rice (using a 200ml / approx. 3/4 US cup measuring cup), use approximately 450cc (approx. 1.9 US cups) of water.
- Tip: When cooking rice in a pot, it is easier to manage if you cook about 2 to 3 cups at once. You can freeze any portion you don’t eat immediately.
1. Rinsing the Rice (Togu)
You might think of this step as “washing” the rice. However, simply washing the rice can cause the grains to break, resulting in less fluffy rice, and can wash away the rice’s natural sweetness and flavor.
- Place the raw rice into a bowl, preferably using a strainer (zaru). Pour water into the bowl until the rice is completely submerged. Stir the rice 2 or 3 times from the bottom, then discard the water.
- Note: Using a strainer makes the rinsing process easier, as you will be changing the water several times.
- Pour water into the bowl until the rice is fully submerged. Gently cup your fingers and lightly swirl the rice around the bowl. After swirling about 20 times, discard the water.
- Fill the bowl with water until the rice is covered, stir lightly from the bottom, and discard the cloudy togijiru (rinsing water). Repeat this about 3 times until the water becomes clearer.
2. Soaking the Rice (Shinsui)
Lift the strainer out of the bowl to drain the water. Transfer the rice and the measured amount of water into the pot and let it soak for about 30 minutes.
- If you live in a hard water area, soak the rice for 1 hour or longer.
- The 30-minute soaking time is a guideline for summer in Japan. If you live in a cold region or during winter, soak for about 1 hour.
- Visual Guide: Soaking is complete when the rice loses its transparency and turns opaque white.
- The water content differs between new rice (shinmai) and old rice (komai). If the harvest date is recent (new rice), you may slightly reduce the water amount by 10 to 20cc (approx. 0.34 to 0.68 fl oz), but this is entirely up to your preference.
3. Cooking!
- Place the lid on the pot and put it on the stove. Heat the pot over medium heat until bubbles begin to vigorously appear. Once bubbles start spilling over the edge of the pot, it is officially boiling.
- As soon as you confirm boiling, immediately reduce the heat to very low (a bare minimum simmer). Continue to cook for 12 to 15 minutes in this state.
- If the lid rattles or chatters during the boiling or simmering stage, place a heavy object (like a glass jar or a plate) on top. This prevents the lid from lifting and releasing too much pressure. Applying light pressure reduces uneven cooking and results in tastier rice.
- Crucial Rule: NEVER open the lid, even if you are curious! (This will change the pressure inside the pot.)
4. Steaming (Murasu)
- Turn off the heat and let the rice steam, with the lid still on, for 10 minutes.
Wait 10 minutes, and it’s done!
Freezing Cooked Rice
If you are going to freeze the rice, wrap a single serving (one bowl’s worth) in plastic wrap while it is still warm. Flatten the rice to a uniform thickness in the wrap so that the heat distributes evenly when thawed. Once cooled, place the wrapped rice into a resealable freezer bag, seal it tightly, and place it in the freezer. A general guideline for reheating is 3 minutes in a 600w microwave.
Special thanks
Unsplash: Andraz Lazic, Luna Hu, Douglas Lopez, kalpa mahagamage